Backend Services enhance its application’s security by various methods and one of trending technique is Request Signing. It’s crucial to verify that your requests are not tampered with during transport, and this is achieved by signing the requests with a predefined signature provided by Clients.
Overview
Clients usually send HTTP requests to backend Services to trigger some actions or retrieve some data. For all of these cases, Services should verify that the request has actually originated from authenticated clients. Without this verification step, an attacker could spoof a request, which could trick your Services into performing unwanted actions.
With Request Signing, Clients need to send a signature together in each request. This signature is unique to the request itself and calculated based on the request body, current time, and signature version. This means that even if there is a malicious party who can alter requests, they can’t fake client’s signature. Your Services verify this signature to validate the request, and if it’s a match, congratulations! ![]() You’ve got an authentic request to your
You’ve got an authentic request to your Services.
During the app development stage, you may use PostMan to manually send a request to a gateway or directly to a service, to invoke your Services actions. This guide describes how to use PostMan pre-request script feature to dynamically calculate a requet’s signature and set it into the request’s header.
Generate RSA Key Pairs
Use the below commands to generate key pairs. These commands generate key pairs in a different format for different platforms. In this guide, we only need to use client_private_key_php_dotnet.pem and client_public_key_php_dotnet.pem as an example.
# generate private key
openssl genrsa -out client_private_key_php_dotnet.pem

#java developers need to change the PK to PKCS8 format
openssl pkcs8 -topk8 -inform PEM -in client_private_key_php_dotnet.pem -outform PEM -nocrypt -out client_private_key_pkcs8.pem

#generate public key
openssl rsa -in client_private_key_php_dotnet.pem -pubout -out client_public_key_php_dotnet.pem

#generate private key to JAVA format
cat client_private_key_pkcs8.pem | grep -v "^\-" | tr -d "\n" | sed 's/%$//' > client_private_key_java.pem

#generate public key to JAVA format
cat client_public_key_php_dotnet.pem | grep -v "^\-" | tr -d "\n" | sed 's/%$//' > client_public_key_java.pem
PostMan
Import PostMan Collection
Download this collection to import to PostMan. After that, you will see two requests:
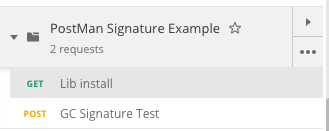
Execute Lib Install to install relevant JS libraries locally. This is one-time step.
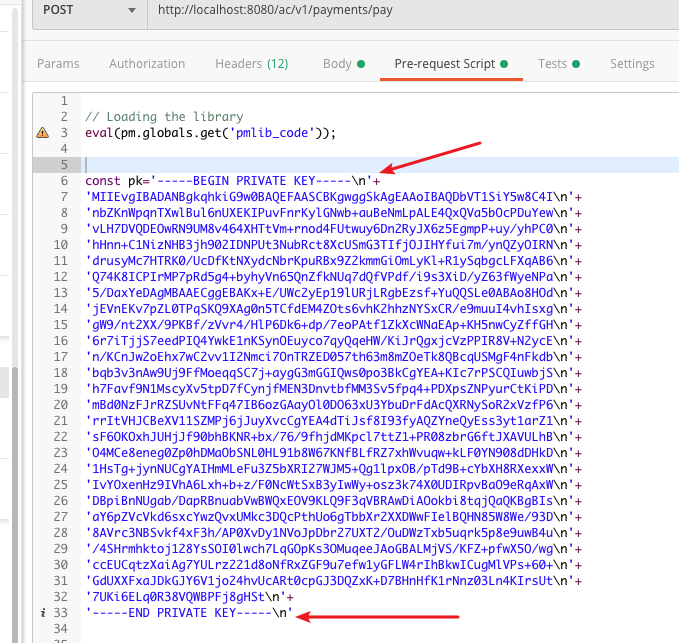
Update Private Key
Open the “Pre-request Script” tab and update the private key. Please note each line of the private key is ended with a “\n”.
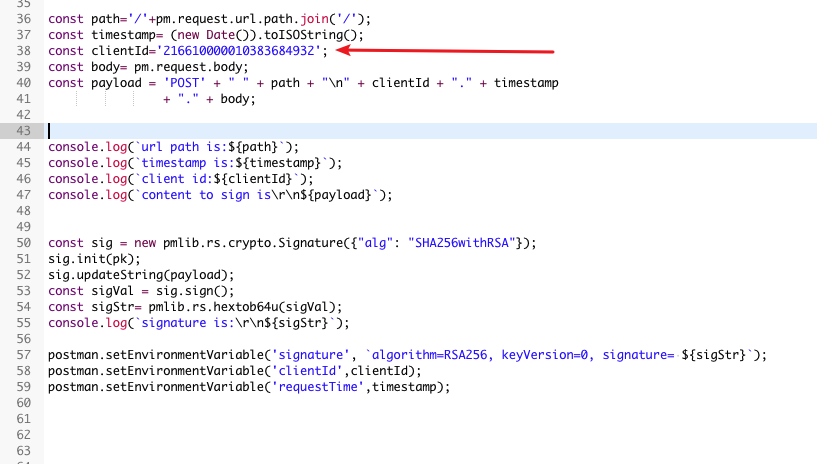
Update Client ID
Update the client Id that AC assigned to the PSP here.
Send Request
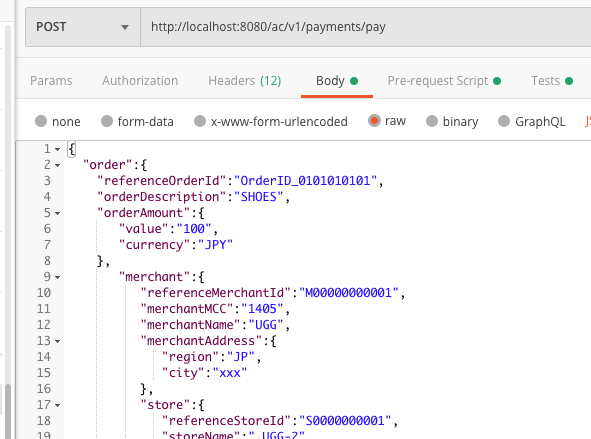
Open the “GC Signature Test” request.
You only need to change the URL. Do NOT modify the header part. These headers are updated automatically by JS scripts.

You can modify the body to supply suitable request data. The body content is used by the pre-request script to calculate the signature.
Troubleshooting
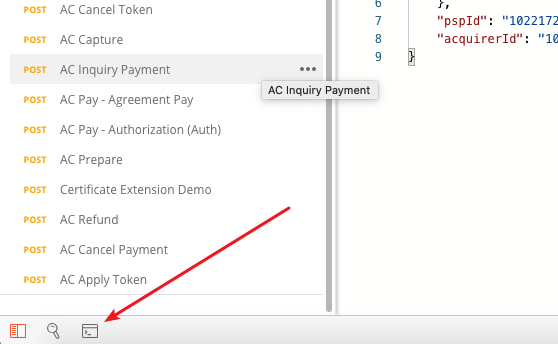
You can open the PostMan console window to see the log output. This helps you troubleshooting.
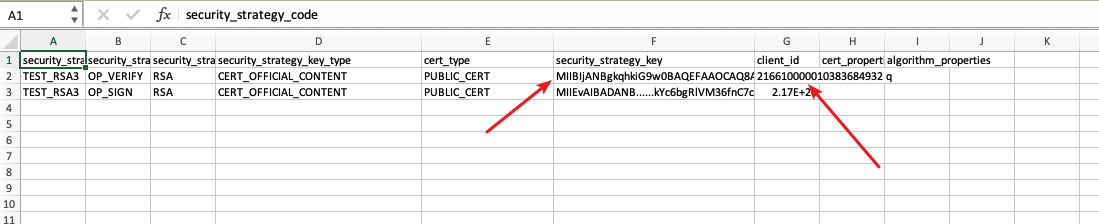
Update the public key in the security_strategy_key fields and client ID in client_id fields.
Note
Excel sometimes format 216610000010383684932 to scientific format such as 2.17E+20. To ensure your client_id is updated corectly, open it using plain text editor and verify.
![]()
